目录
- 前言
- 验证码生成
- 加入验证码依赖
- 验证码配置
- 验证码接口
- 加入依赖
- 基于过滤器
- 编写自定义认证逻辑
- 测试
- 基于认证器
- 编写自定义认证逻辑
- 测试
前言
在前面的几篇文章中,登录时都是使用用户名 + 密码进行登录的,但是在实际项目当中,登录时,还需要输入图形验证码。那如何在 Spring Security 现有的认证体系中,加入自己的认证逻辑呢?这就是本文的内容,本文会介绍两种实现方案,一是基于过滤器实现;二是基于认证器实现。
验证码生成
既然需要输入图形验证码,那先来生成验证码吧。
加入验证码依赖
<!--验证码生成器-->
<dependency>
    <groupId>com.github.penggle</groupId>
    <artifactId>kaptcha</artifactId>
    <version>.3.2</version>
</dependency>
<dependency>
	<groupId>org.springframework.boot</groupId>
	<artifactId>spring-boot-starter-web</artifactId>
</dependency>
Kaptcha 依赖是谷歌的验证码工具。
验证码配置
@Configuration
public class KaptchaConfig {
    @Bean
    public DefaultKaptcha captchaProducer() {
        Properties properties = new Properties();
        // 是否显示边框
        properties.setProperty("kaptcha.border","yes");
        // 边框颜色
        properties.setProperty("kaptcha.border.color",",179,90");
        // 字体颜色
        properties.setProperty("kaptcha.textproducer.font.color","blue");
        // 字体大小
        properties.setProperty("kaptcha.textproducer.font.size","");
        // 图片宽度
        properties.setProperty("kaptcha.image.width","");
        // 图片高度
        properties.setProperty("kaptcha.image.height","");
        // 文字个数
        properties.setProperty("kaptcha.textproducer.char.length","");
        //文字大小
        properties.setProperty("kaptcha.textproducer.font.size","");
        //文字随机字体
        properties.setProperty("kaptcha.textproducer.font.names", "宋体");
        //文字距离
        properties.setProperty("kaptcha.textproducer.char.space","");
        //干扰线颜色
        properties.setProperty("kaptcha.noise.color","blue");
        // 文本内容 从设置字符中随机抽取
        properties.setProperty("kaptcha.textproducer.char.string","");
        DefaultKaptcha kaptcha = new DefaultKaptcha();
        kaptcha.setConfig(new Config(properties));
        return kaptcha;
    }
}
验证码接口
/**
 * 生成验证码
 */
@GetMapping("/verify-code")
public void getVerifyCode(HttpServletResponse resp, HttpSession session) throws IOException {
    resp.setContentType("image/jpeg");
    // 生成图形校验码内容
    String text = producer.createText();
    // 将验证码内容存入HttpSession
    session.setAttribute("verify_code", text);
    // 生成图形校验码图片
    BufferedImage image = producer.createImage(text);
    // 使用try-with-resources 方式,可以自动关闭流
    try(ServletOutputStream out = resp.getOutputStream()) {
        // 将校验码图片信息输出到浏览器
        ImageIO.write(image, "jpeg", out);
    }
}
代码注释写的很清楚,就不过多的介绍。属于固定的配置,既然配置完了,那就看看生成的效果吧!
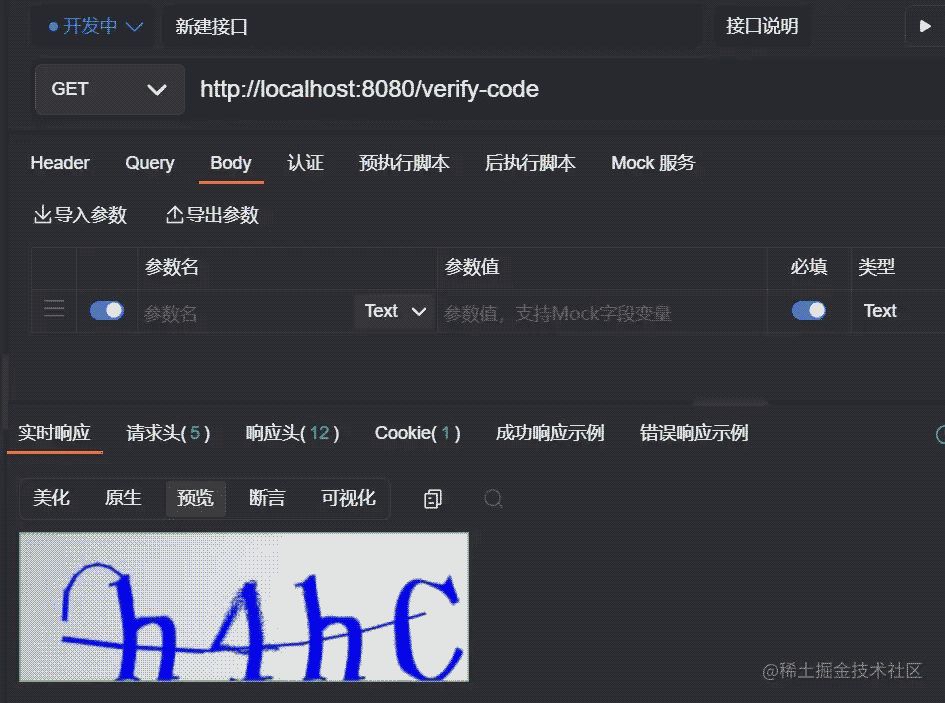
接下来就看看如何集成到 Spring Security 中的认证逻辑吧!
加入依赖
<dependency>
    <groupId>org.springframework.boot</groupId>
    <artifactId>spring-boot-starter-security</artifactId>
</dependency>
基于过滤器
编写自定义认证逻辑
这里继承的过滤器为 UsernamePasswordAuthenticationFilter,并重写attemptAuthentication方法。用户登录的用户名/密码是在 UsernamePasswordAuthenticationFilter 类中处理,那我们就继承这个类,增加对验证码的处理。当然也可以实现其他类型的过滤器,比如:GenericFilterBean、OncePerRequestFilter,不过处理起来会比继承UsernamePasswordAuthenticationFilter麻烦一点。
import org.springframework.security.authentication.AuthenticationServiceException;
import org.springframework.security.core.Authentication;
import org.springframework.security.core.AuthenticationException;
import org.springframework.security.web.authentication.UsernamePasswordAuthenticationFilter;
import org.springframework.util.StringUtils;
import javax.servlet.http.HttpServletRequest;
import javax.servlet.http.HttpServletResponse;
import javax.servlet.http.HttpSession;
public class VerifyCodeFilter extends UsernamePasswordAuthenticationFilter {
    @Override
    public Authentication attemptAuthentication(HttpServletRequest request, HttpServletResponse response) throws AuthenticationException {
        // 需要是 POST 请求
        if (!request.getMethod().equals("POST")) {
            throw new AuthenticationServiceException(
                    "Authentication method not supported: " + request.getMethod());
        }
        // 获得请求验证码值
        String code = request.getParameter("code");
        HttpSession session = request.getSession();
        // 获得 session 中的 验证码值
        String sessionVerifyCode = (String) session.getAttribute("verify_code");
        if (StringUtils.isEmpty(code)){
            throw new AuthenticationServiceException("验证码不能为空!");
        }
        if(StringUtils.isEmpty(sessionVerifyCode)){
            throw new AuthenticationServiceException("请重新申请验证码!");
        }
        if (!sessionVerifyCode.equalsIgnoreCase(code)) {
            throw new AuthenticationServiceException("验证码错误!");
        }
        // 验证码验证成功,清除 session 中的验证码
        session.removeAttribute("verify_code");
        // 验证码验证成功,走原本父类认证逻辑
        return super.attemptAuthentication(request, response);
    }
}
代码逻辑很简单,验证验证码是否正确,正确则走父类原本逻辑,去验证用户名密码是否正确。 过滤器定义完成后,接下来就是用我们自定义的过滤器代替默认的 UsernamePasswordAuthenticationFilter。
- SecurityConfig
import cn.cxyxj.study.Authentication.config.MyAuthenticationFailureHandler;
import cn.cxyxj.study.Authentication.config.MyAuthenticationSuccessHandler;
import org.springframework.context.annotation.Bean;
import org.springframework.context.annotation.Configuration;
import org.springframework.security.authentication.AuthenticationManager;
import org.springframework.security.config.annotation.web.builders.HttpSecurity;
import org.springframework.security.config.annotation.web.configuration.WebSecurityConfigurerAdapter;
import org.springframework.security.core.userdetails.User;
import org.springframework.security.core.userdetails.UserDetailsService;
import org.springframework.security.crypto.password.NoOpPasswordEncoder;
import org.springframework.security.crypto.password.PasswordEncoder;
import org.springframework.security.provisioning.InMemoryUserDetailsManager;
import org.springframework.security.web.authentication.UsernamePasswordAuthenticationFilter;
@Configuration
public class SecurityConfig extends WebSecurityConfigurerAdapter {
    @Bean
    PasswordEncoder passwordEncoder() {
        return NoOpPasswordEncoder.getInstance();
    }
    @Bean
    @Override
    protected UserDetailsService userDetailsService() {
        InMemoryUserDetailsManager manager = new InMemoryUserDetailsManager();
        manager.createUser(User.withUsername("cxyxj").password("").roles("admin").build());
        manager.createUser(User.withUsername("security").password("security").roles("user").build());
        return manager;
    }
    @Override
    @Bean
    public AuthenticationManager authenticationManagerBean()
            throws Exception {
        return super.authenticationManagerBean();
    }
    @Override
    protected void configure(HttpSecurity http) throws Exception {
        // 用自定义的 VerifyCodeFilter 实例代替 UsernamePasswordAuthenticationFilter
        http.addFilterBefore(new VerifyCodeFilter(), UsernamePasswordAuthenticationFilter.class);
        http.authorizeRequests()  //开启配置
                // 验证码、登录接口放行
                .antMatchers("/verify-code","/auth/login").permitAll()
                .anyRequest() //其他请求
                .authenticated().and()//验证   表示其他请求需要登录才能访问
                .csrf().disable();  // 禁用 csrf 保护
    }
    @Bean
    VerifyCodeFilter loginFilter() throws Exception {
        VerifyCodeFilter verifyCodeFilter = new VerifyCodeFilter();
        verifyCodeFilter.setFilterProcessesUrl("/auth/login");
        verifyCodeFilter.setUsernameParameter("account");
        verifyCodeFilter.setPasswordParameter("pwd");
        verifyCodeFilter.setAuthenticationManager(authenticationManagerBean());
        verifyCodeFilter.setAuthenticationSuccessHandler(new MyAuthenticationSuccessHandler());
        verifyCodeFilter.setAuthenticationFailureHandler(new MyAuthenticationFailureHandler());
        return verifyCodeFilter;
    }
}
当我们替换了 UsernamePasswordAuthenticationFilter 之后,原本在 SecurityConfig#configure 方法中关于 form 表单的配置就会失效,那些失效的属性,都可以在配置 VerifyCodeFilter 实例的时候配置;还需要记得配置AuthenticationManager,否则启动时会报错。
- MyAuthenticationFailureHandler
import org.springframework.security.authentication.BadCredentialsException;
import org.springframework.security.authentication.LockedException;
import org.springframework.security.core.AuthenticationException;
import org.springframework.security.web.authentication.AuthenticationFailureHandler;
import javax.servlet.ServletException;
import javax.servlet.http.HttpServletRequest;
import javax.servlet.http.HttpServletResponse;
import java.io.IOException;
import java.io.PrintWriter;
/**
 * 登录失败回调
 */
public class MyAuthenticationFailureHandler implements AuthenticationFailureHandler {
    @Override
    public void onAuthenticationFailure(HttpServletRequest request, HttpServletResponse response, AuthenticationException e) throws IOException, ServletException {
        response.setContentType("application/json;charset=utf-");
        PrintWriter out = response.getWriter();
        String msg = "";
        if (e instanceof LockedException) {
            msg = "账户被锁定,请联系管理员!";
        }
       else if (e instanceof BadCredentialsException) {
            msg = "用户名或者密码输入错误,请重新输入!";
        }
        out.write(e.getMessage());
        out.flush();
        out.close();
    }
}
- MyAuthenticationSuccessHandler
import com.fasterxml.jackson.databind.ObjectMapper;
import org.springframework.security.core.Authentication;
import org.springframework.security.web.authentication.AuthenticationSuccessHandler;
import javax.servlet.ServletException;
import javax.servlet.http.HttpServletRequest;
import javax.servlet.http.HttpServletResponse;
import java.io.IOException;
import java.io.PrintWriter;
/**
 * 登录成功回调
 */
public class MyAuthenticationSuccessHandler implements AuthenticationSuccessHandler {
    @Override
    public void onAuthenticationSuccess(HttpServletRequest request, HttpServletResponse response, Authentication authentication) throws IOException, ServletException {
        Object principal = authentication.getPrincipal();
        response.setContentType("application/json;charset=utf-");
        PrintWriter out = response.getWriter();
        out.write(new ObjectMapper().writeValueAsString(principal));
        out.flush();
        out.close();
    }
}
测试
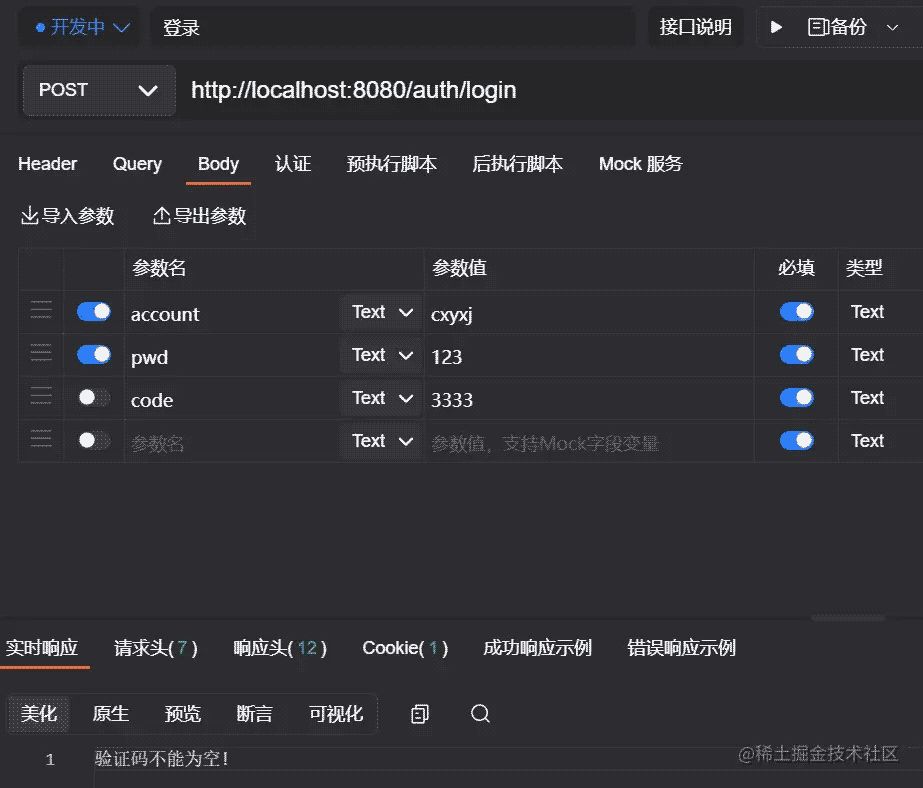
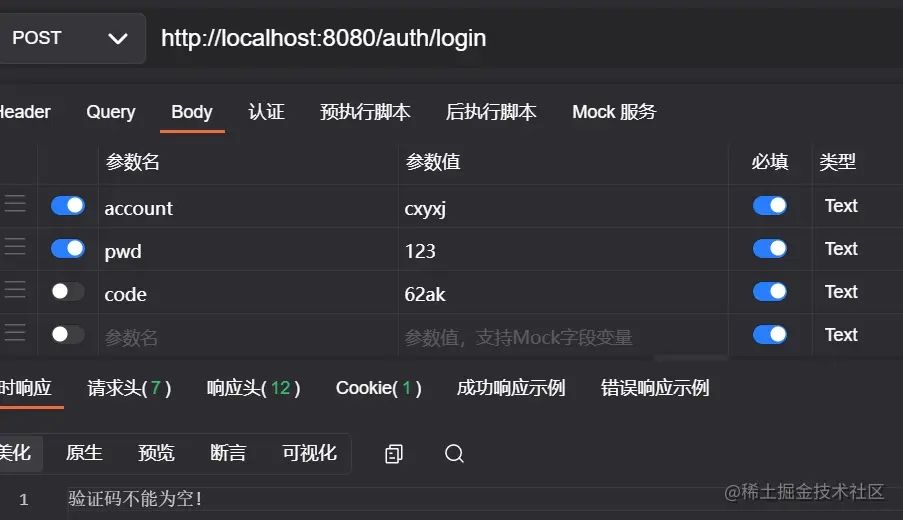
- 不传入验证码发起请求。
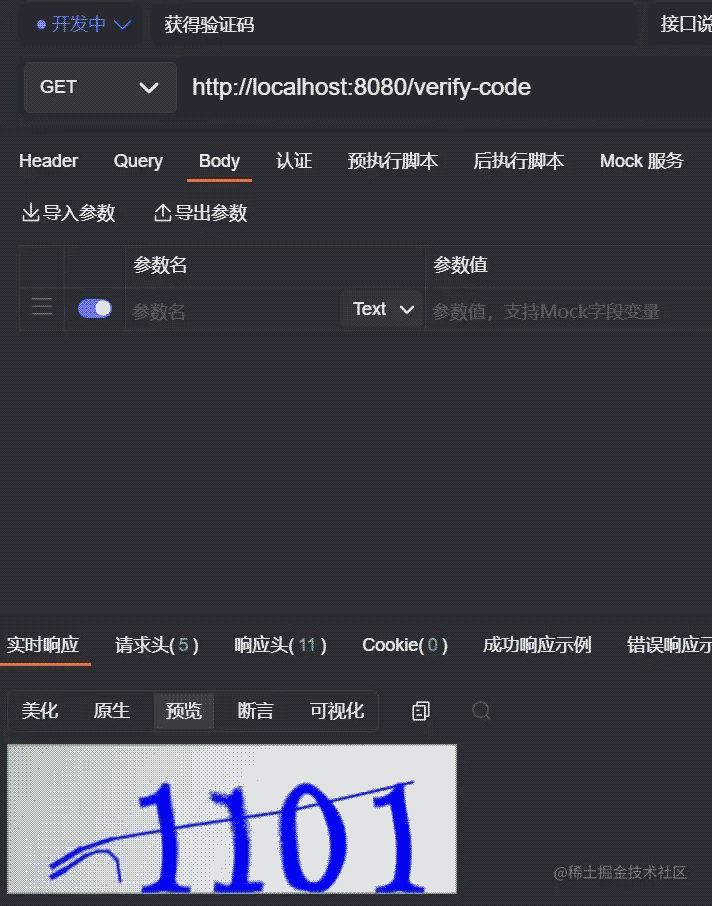
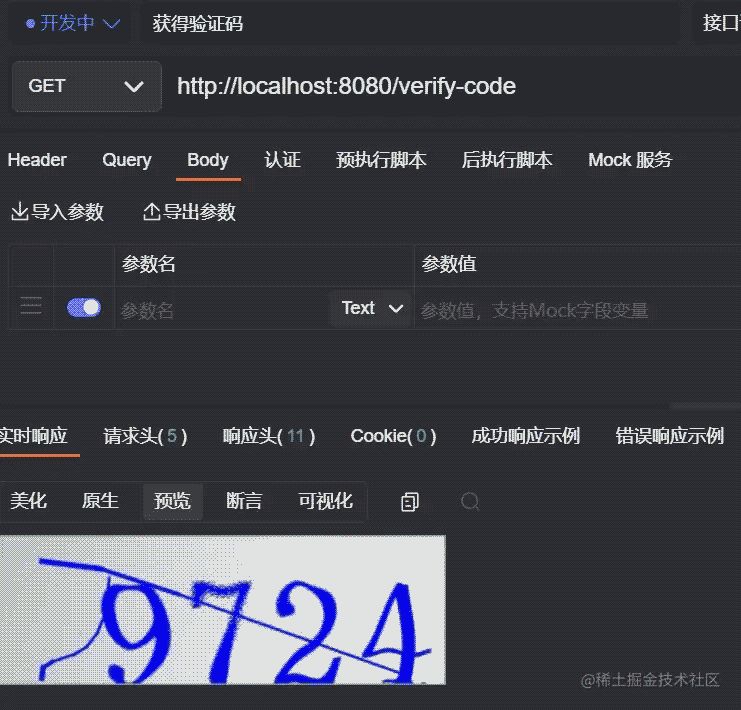
- 请求获取验证码接口
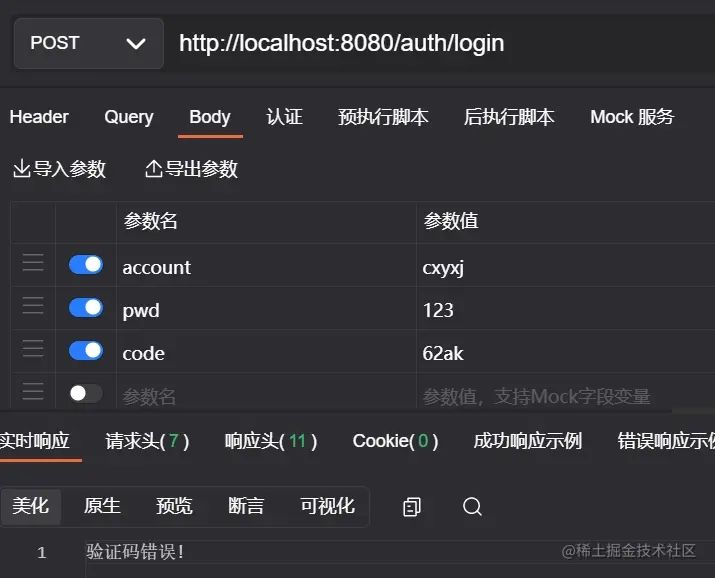
- 输入错误的验证码
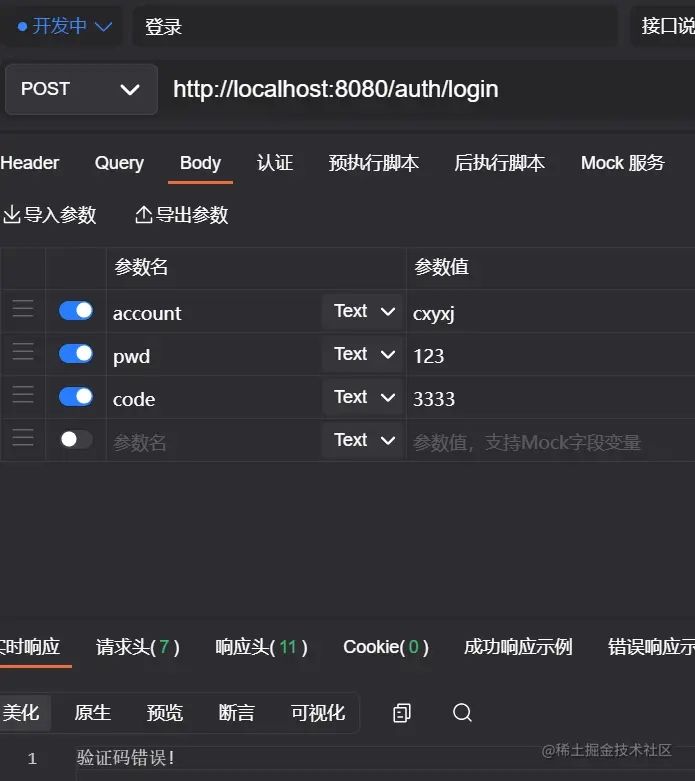
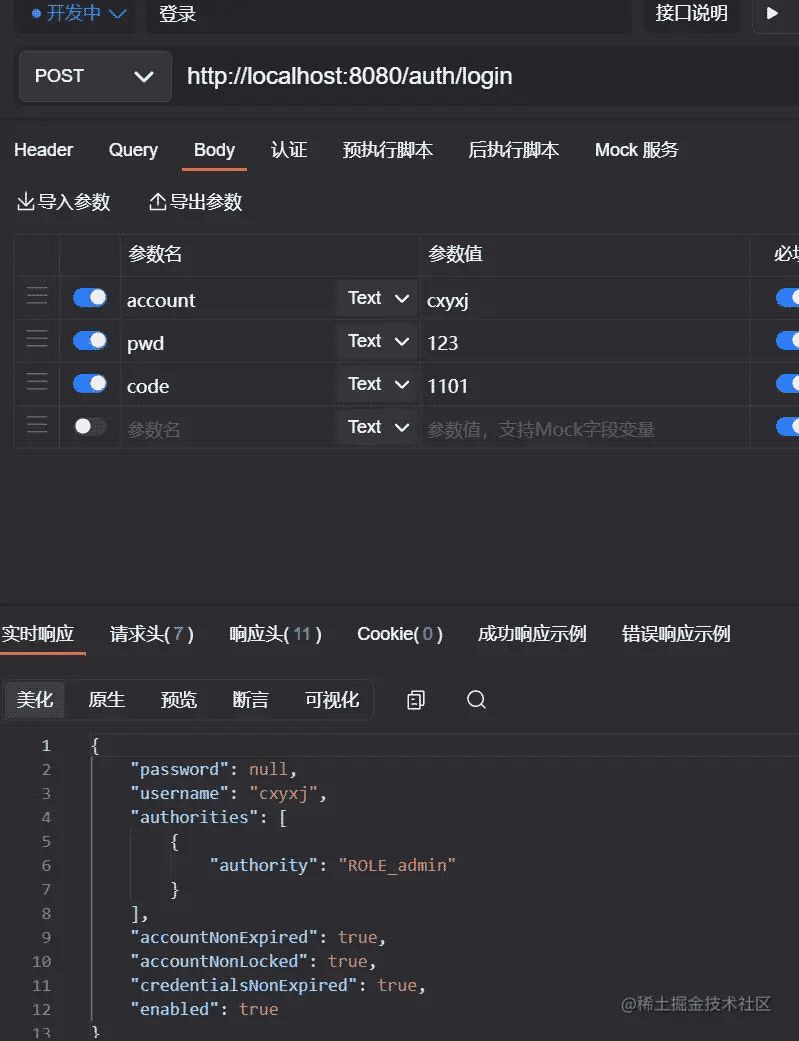
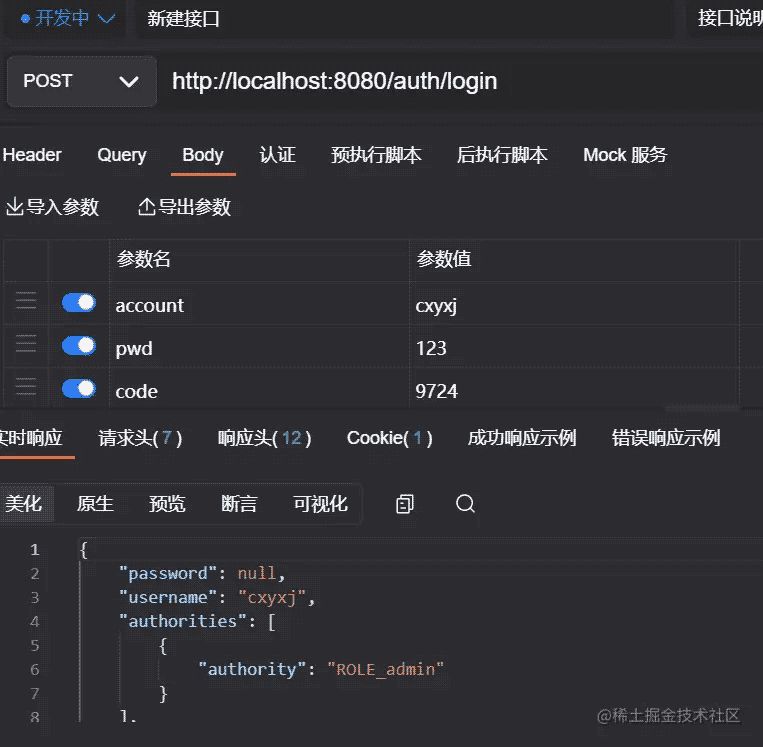
- 输入正确的验证码
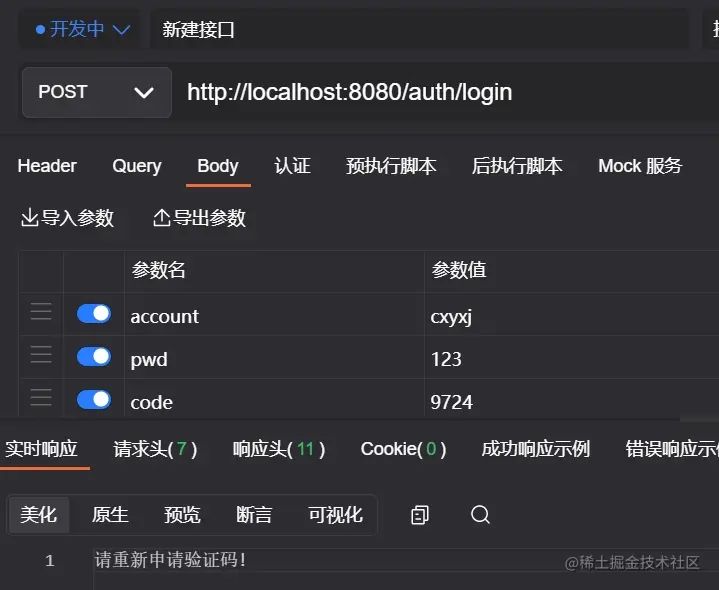
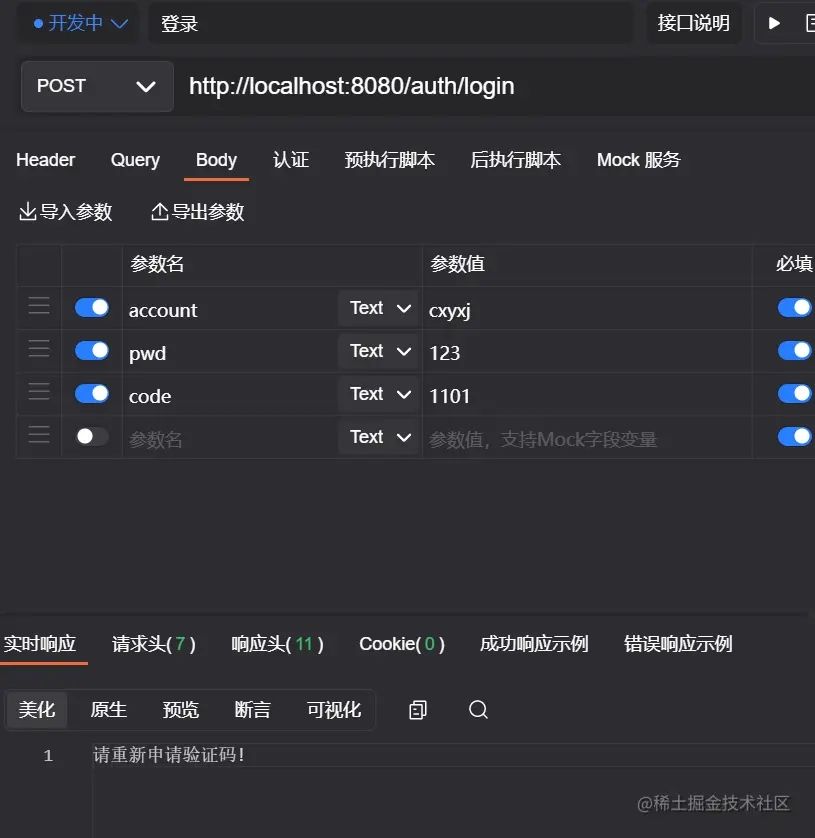
输入已经使用过的验证码
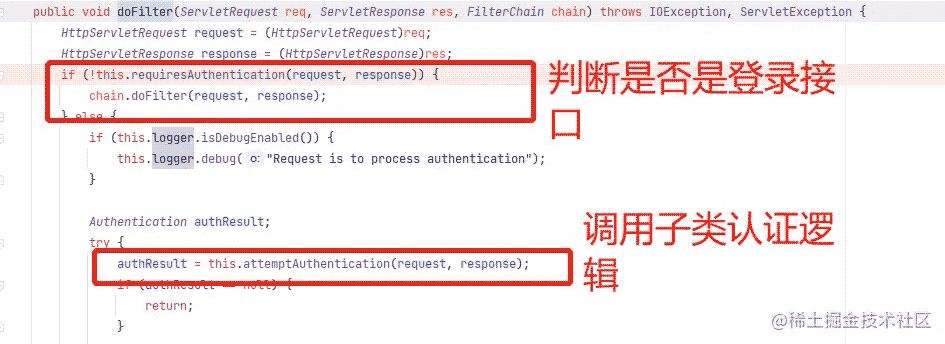
各位读者是不是会觉得既然继承了 Filter,那是不是每个接口都会进入到我们的自定义方法中呀!如果是继承了 GenericFilterBean、OncePerRequestFilter 那是肯定会的,需要手动处理。 但我们继承的是 UsernamePasswordAuthenticationFilter,security 已经帮忙处理了。处理逻辑在其父类 AbstractAuthenticationProcessingFilter#doFilter 中。
基于认证器
编写自定义认证逻辑
验证码逻辑编写完成,那接下来就自定义一个 VerifyCodeAuthenticationProvider 继承自 DaoAuthenticationProvider,并重写 authenticate 方法。
import org.springframework.security.authentication.AuthenticationServiceException;
import org.springframework.security.authentication.dao.DaoAuthenticationProvider;
import org.springframework.security.core.Authentication;
import org.springframework.security.core.AuthenticationException;
import org.springframework.util.StringUtils;
import org.springframework.web.context.request.RequestContextHolder;
import org.springframework.web.context.request.ServletRequestAttributes;
import javax.servlet.http.HttpServletRequest;
import javax.servlet.http.HttpSession;
/**
 * 验证码验证器
 */
public class VerifyCodeAuthenticationProvider extends DaoAuthenticationProvider {
    @Override
    public Authentication authenticate(Authentication authentication) throws AuthenticationException {
        HttpServletRequest req = ((ServletRequestAttributes) RequestContextHolder.getRequestAttributes()).getRequest();
        // 获得请求验证码值
        String code = req.getParameter("code");
        // 获得 session 中的 验证码值
        HttpSession session = req.getSession();
        String sessionVerifyCode = (String) session.getAttribute("verify_code");
        if (StringUtils.isEmpty(code)){
            throw new AuthenticationServiceException("验证码不能为空!");
        }
        if(StringUtils.isEmpty(sessionVerifyCode)){
            throw new AuthenticationServiceException("请重新申请验证码!");
        }
        if (!code.toLowerCase().equals(sessionVerifyCode.toLowerCase())) {
            throw new AuthenticationServiceException("验证码错误!");
        }
        // 验证码验证成功,清除 session 中的验证码
        session.removeAttribute("verify_code");
        // 验证码验证成功,走原本父类认证逻辑
        return super.authenticate(authentication);
    }
}
自定义的认证逻辑完成了,剩下的问题就是如何让 security 走我们的认证逻辑了。
在 security 中,所有的 AuthenticationProvider 都是放在 ProviderManager 中统一管理的,所以接下来我们就要自己提供 ProviderManager,然后注入自定义的 VerifyCodeAuthenticationProvider。
- SecurityConfig
import cn.cxyxj.study.config.MyAuthenticationFailureHandler;
import cn.cxyxj.study.config.MyAuthenticationSuccessHandler;
import org.springframework.context.annotation.Bean;
import org.springframework.context.annotation.Configuration;
import org.springframework.security.authentication.AuthenticationManager;
import org.springframework.security.authentication.ProviderManager;
import org.springframework.security.config.annotation.web.builders.HttpSecurity;
import org.springframework.security.config.annotation.web.configuration.WebSecurityConfigurerAdapter;
import org.springframework.security.core.userdetails.User;
import org.springframework.security.core.userdetails.UserDetailsService;
import org.springframework.security.crypto.password.NoOpPasswordEncoder;
import org.springframework.security.crypto.password.PasswordEncoder;
import org.springframework.security.provisioning.InMemoryUserDetailsManager;
@Configuration
public class SecurityConfig extends WebSecurityConfigurerAdapter {
    @Bean
    PasswordEncoder passwordEncoder() {
        return NoOpPasswordEncoder.getInstance();
    }
    @Bean
    @Override
    protected UserDetailsService userDetailsService() {
        InMemoryUserDetailsManager manager = new InMemoryUserDetailsManager();
        manager.createUser(User.withUsername("cxyxj").password("").roles("admin").build());
        manager.createUser(User.withUsername("security").password("security").roles("user").build());
        return manager;
    }
    @Bean
    VerifyCodeAuthenticationProvider verifyCodeAuthenticationProvider() {
        VerifyCodeAuthenticationProvider provider = new VerifyCodeAuthenticationProvider();
        provider.setPasswordEncoder(passwordEncoder());
        provider.setUserDetailsService(userDetailsService());
        return provider;
    }
    @Override
    @Bean
    public AuthenticationManager authenticationManagerBean() throws Exception {
        ProviderManager manager = new ProviderManager(verifyCodeAuthenticationProvider());
        return manager;
    }
    @Override
    protected void configure(HttpSecurity http) throws Exception {
        http.authorizeRequests()  //开启配置
                // 验证码接口放行
                .antMatchers("/verify-code").permitAll()
                .anyRequest() //其他请求
                .authenticated()//验证   表示其他请求需要登录才能访问
                .and()
                .formLogin()
                .loginPage("/login.html") //登录页面
                .loginProcessingUrl("/auth/login") //登录接口,此地址可以不真实存在
                .usernameParameter("account") //用户名字段
                .passwordParameter("pwd") //密码字段
                .successHandler(new MyAuthenticationSuccessHandler())
                .failureHandler(new MyAuthenticationFailureHandler())
                .permitAll() // 上述 login.html 页面、/auth/login接口放行
                .and()
                .csrf().disable();  // 禁用 csrf 保护
        ;
    }
}
测试
不传入验证码发起请求。
- 请求获取验证码接口
- 输入错误的验证码
- 输入正确的验证码
- 输入已经使用过的验证码
