环境
1 MySQL

2 Spring Tool Suite ,和Eclipse操作差不多,但是不推荐用Eclipse
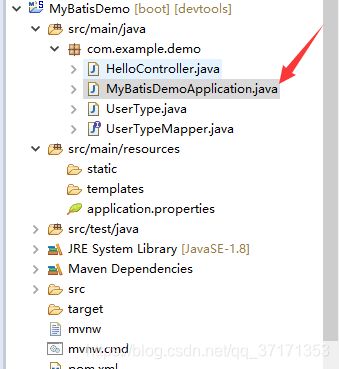
构建项目(第一种方式:无***Mapper.xml)
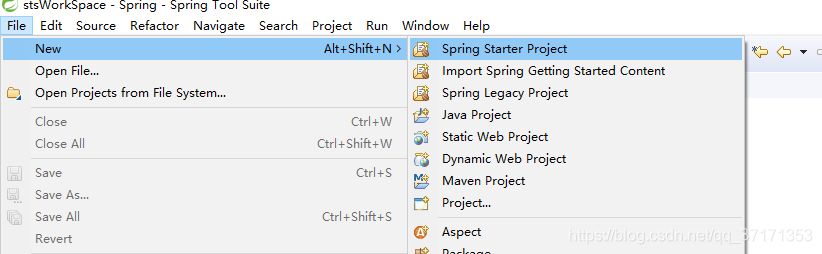
新建项目
File ----->New ----->Spring Starter Project
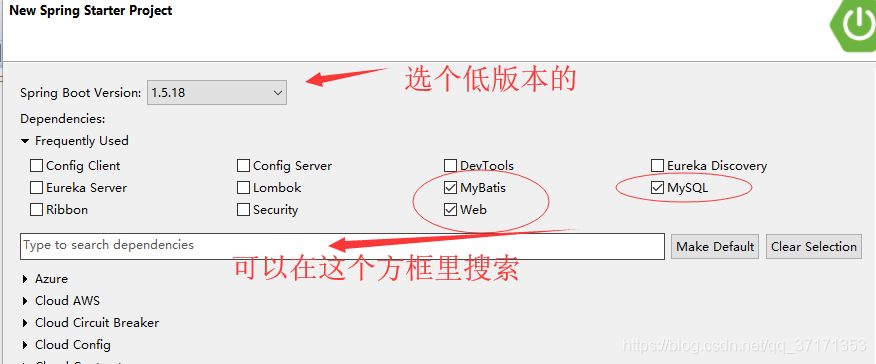
生成的pom.xml如下所示
| <project xmlns="http://maven.apache.org/POM/4.0.0" xmlns:xsi="http://www.w3.org/2001/XMLSchema-instance" | |
| xsi:schemaLocation="http://maven.apache.org/POM/4.0.0 http://maven.apache.org/xsd/maven-4.0.0.xsd"> | |
| <modelVersion>4.0.0</modelVersion> | |
| <parent> | |
| <groupId>org.springframework.boot</groupId> | |
| <artifactId>spring-boot-starter-parent</artifactId> | |
| <version>1.5.18.RELEASE</version> | |
| <relativePath/> <!-- lookup parent from repository --> | |
| </parent> | |
| <groupId>com.example</groupId> | |
| <artifactId>demo</artifactId> | |
| <version>0.0.1-SNAPSHOT</version> | |
| <name>MyBatisDemo2</name> | |
| <description>Demo project for Spring Boot</description> | |
| <properties> | |
| <java.version>1.8</java.version> | |
| </properties> | |
| <dependencies> | |
| <dependency> | |
| <groupId>org.springframework.boot</groupId> | |
| <artifactId>spring-boot-starter-web</artifactId> | |
| </dependency> | |
| <dependency> | |
| <groupId>org.mybatis.spring.boot</groupId> | |
| <artifactId>mybatis-spring-boot-starter</artifactId> | |
| <version>1.3.2</version> | |
| </dependency> | |
| <dependency> | |
| <groupId>mysql</groupId> | |
| <artifactId>mysql-connector-java</artifactId> | |
| <scope>runtime</scope> | |
| </dependency> | |
| <dependency> | |
| <groupId>org.springframework.boot</groupId> | |
| <artifactId>spring-boot-starter-test</artifactId> | |
| <scope>test</scope> | |
| </dependency> | |
| </dependencies> | |
| <build> | |
| <plugins> | |
| <plugin> | |
| <groupId>org.springframework.boot</groupId> | |
| <artifactId>spring-boot-maven-plugin</artifactId> | |
| </plugin> | |
| </plugins> | |
| </build> | |
| </project> |
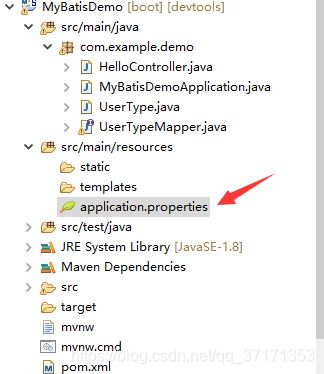
修改下面的application配置文件
| ###################################### | |
| ###spring datasource | |
| ###################################### | |
| spring.datasource.url=jdbc:mysql://47.105.132.96:3306/trainproject | |
| spring.datasource.username=admin | |
| spring.datasource.password=admin | |
| spring.datasource.driver-class-name=com.mysql.jdbc.Driver |
创建实体类
| package com.example.demo; | |
| public class UserType { | |
| private Integer id; | |
| private String name; | |
| public Integer getId() { | |
| return id; | |
| } | |
| //getter setter 构造方法 toString | |
| } |
编写mapper层,就是dao层(敲黑板,重点来了)
添加注解@Mapper
在方法上添加注解,根据你的需求,这里以select为例子
希望在操作的时候实体类和数据库字段名一致,可以减少一些古怪的错误
| package com.example.demo; | |
| import org.apache.ibatis.annotations.Mapper; | |
| import org.apache.ibatis.annotations.Select; | |
| public interface UserTypeMapper { | |
| public UserType selectById(Integer id); | |
| } |
编写控制层Controller
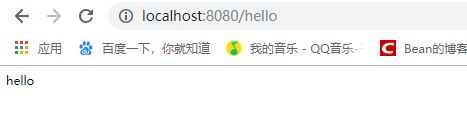
将mapper注入到controller中,访问/hello会在控制台打印选择的信息
| package com.example.demo; | |
| import org.springframework.beans.factory.annotation.Autowired; | |
| import org.springframework.stereotype.Controller; | |
| import org.springframework.web.bind.annotation.RequestMapping; | |
| import org.springframework.web.bind.annotation.ResponseBody; | |
| public class HelloController { | |
| private UserTypeMapper userTypeMapper; | |
| public String hello(){ | |
| System.out.println(userTypeMapper); | |
| System.out.println(userTypeMapper.selectById(1)); | |
| return "hello"; | |
| } | |
| } |
运行项目名称的类
构建项目(第二种方式:有***Mapper.xml)
注意mapper.xml的位置,注意mapper.xml的位置,注意mapper.xml的位置
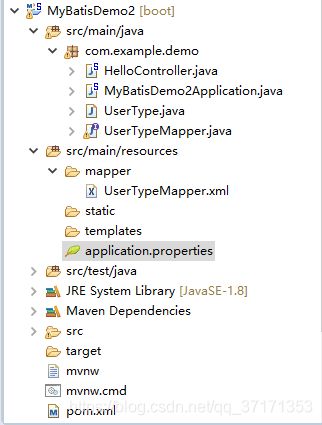
修改application.properties配置文件
| ###################################### | |
| ###spring datasource | |
| ###################################### | |
| spring.datasource.url=jdbc:mysql://47.105.132.96:3306/trainproject | |
| spring.datasource.username=root | |
| spring.datasource.password=123456 | |
| spring.datasource.driver-class-name=com.mysql.jdbc.Driver | |
| ###################################### | |
| ###MyBatis | |
| ###################################### | |
| mybatis.mapper-locations=classpath:mapper/*Mapper.xml |
UserTypeMapper层
| package com.example.demo; | |
| import org.apache.ibatis.annotations.Mapper; | |
| import org.apache.ibatis.annotations.Select; | |
| public interface UserTypeMapper { | |
| public UserType selectById(Integer id); | |
| } |
运行结果