eureka服务注册中心
| <!--eureka-server服务端 --> | |
| <dependency> | |
| <groupId>org.springframework.cloud</groupId> | |
| <artifactId>spring-cloud-starter-eureka-server</artifactId> | |
| </dependency> | |
| server: | |
| port: 7001 | |
| eureka: | |
| instance: | |
| hostname: localhost #eureka服务端的实例名称 | |
| client: | |
| register-with-eureka: false #false表示不向注册中心注册自己。 | |
| fetch-registry: false #false表示自己端就是注册中心,我的职责就是维护服务实例,并不需要去检索服务 | |
| service-url: | |
| defaultZone: http://${eureka.instance.hostname}:${server.port}/eureka/ #设置与Eureka Server交互的地址查询服务和注册服务都需要依赖这个地址(单机)。 | |
| @EnableEurekaServer |
http://localhost:7001/
eureka集群
修改C:\Windows\System32\drivers\etc 下的hosts文件,添加
| 127.0.0.1 eureka7001.com | |
| 127.0.0.1 eureka7002.com | |
| 127.0.0.1 eureka7003.com |
7001向7002和7003eureka注册
| server: | |
| port: 7001 | |
| eureka: | |
| instance: | |
| hostname: eureka7001.com #eureka服务端的实例名称 | |
| client: | |
| register-with-eureka: false #false表示不向注册中心注册自己。 | |
| fetch-registry: false #false表示自己端就是注册中心,我的职责就是维护服务实例,并不需要去检索服务 | |
| service-url: | |
| defaultZone: http://eureka7002.com:7002/eureka/,http://eureka7003.com:7003/eureka/ |
7002向7001和7003eureka注册
| server: | |
| port: 7002 | |
| eureka: | |
| instance: | |
| hostname: eureka7002.com #eureka服务端的实例名称 | |
| client: | |
| register-with-eureka: false #false表示不向注册中心注册自己。 | |
| fetch-registry: false #false表示自己端就是注册中心,我的职责就是维护服务实例,并不需要去检索服务 | |
| service-url: | |
| defaultZone: http://eureka7001.com:7001/eureka/,http://eureka7003.com:7003/eureka/ |
7003eureka向7001和7002eureka注册
| server: | |
| port: 7003 | |
| eureka: | |
| instance: | |
| hostname: eureka7003.com #eureka服务端的实例名称 | |
| client: | |
| register-with-eureka: false #false表示不向注册中心注册自己。 | |
| fetch-registry: false #false表示自己端就是注册中心,我的职责就是维护服务实例,并不需要去检索服务 | |
| service-url: | |
| defaultZone: http://eureka7001.com:7001/eureka/,http://eureka7002.com:7002/eureka/ |
EurekaClient向eurekaServer注册
| eureka: | |
| client: | |
| service-url: | |
| #defaultZone: http://localhost:7001/eureka #单机版 | |
| defaultZone: http://eureka7001.com:7001/eureka/,http://eureka7002.com:7002/eureka/,http://eureka7003.com:7003/eureka/, #集群 |
向服务中心注册微服务
| <!-- 将微服务provider侧注册进eureka --> | |
| <dependency> | |
| <groupId>org.springframework.cloud</groupId> | |
| <artifactId>spring-cloud-starter-eureka</artifactId> | |
| </dependency> | |
| <dependency> | |
| <groupId>org.springframework.boot</groupId> | |
| <artifactId>spring-boot-starter-web</artifactId> | |
| </dependency> | |
| @EnableEurekaClient | |
| server: | |
| port: 8001 | |
| spring: | |
| application: | |
| name: SpringCloudDemo-dept | |
| eureka: | |
| client: | |
| service-url: | |
| defaultZone: http://localhost:7001/eureka |
Ribbon(客户端(消费者)的负载均衡)
Ribbon+restTemplate
使用Ribbon
Ribbon和Eureka整合后可以直接调用服务而不用再关心地址和端口号
提供者要对完暴露统一的名称,下面属性不能改
| spring: | |
| application: | |
| name: SpringCloudDemo-dept |

| <dependency> | |
| <groupId>org.springframework.boot</groupId> | |
| <artifactId>spring-boot-starter-web</artifactId> | |
| </dependency> | |
| <dependency> | |
| <groupId>org.springframework.cloud</groupId> | |
| <artifactId>spring-cloud-starter-netflix-eureka-client</artifactId> | |
| </dependency> | |
| <dependency> | |
| <groupId>org.springframework.cloud</groupId> | |
| <artifactId>spring-cloud-starter-netflix-ribbon</artifactId> | |
| </dependency> | |
| eureka: | |
| client: | |
| register-with-eureka: false | |
| service-url: | |
| defaultZone: http://localhost:7001/eureka/ | |
| server: | |
| port: 80 |
@LoadBalanced
| @Bean | |
| @LoadBalanced//重点,重点,重点 | |
| public RestTemplate getRestTemplate() { | |
| return new RestTemplate(); | |
| } |
在客户端启动类上添加
@EnableEurekaClient
修改controller
| //private static final String REST_URL_PREFIX = "http://localhost:8001"; | |
| private static final String REST_URL_PREFIX = "http://SPRINGCLOUDDEMO-DEPT"; |
负载均衡(默认轮询算法)
使用系统定义的某个算法
| public IRule myRule() | |
| { | |
| //return new RoundRobinRule(); | |
| //return new RandomRule();//达到的目的,用我们重新选择的随机算法替代默认的轮询。 | |
| return new RetryRule(); | |
| } |
使用自定义负载均衡算法
在客户端加
| //在启动该微服务的时候就能去加载我们的自定义Ribbon配置类,从而使配置生效 | |
| //name属性为哪一个微服务名称 | |
| //configuration属性为自定义负载均衡算法 | |
在启动类扫描不到的目录下 创建自定义算法
xxx
Feign((客户端)负载均衡,接口风格)
客户端要添加
| <dependency> | |
| <groupId>org.springframework.cloud</groupId> | |
| <artifactId>spring-cloud-starter-feign</artifactId> | |
| </dependency> | |
| <dependency> | |
| <groupId>org.springframework.cloud</groupId> | |
| <artifactId>spring-cloud-starter-netflix-eureka-client</artifactId> | |
| </dependency> | |
| <dependency> | |
| <groupId>org.springframework.boot</groupId> | |
| <artifactId>spring-boot-starter-web</artifactId> | |
| </dependency> |
appliaction.yml
| spring: | |
| application: | |
| name: consumer-dept-80 | |
| eureka: | |
| client: | |
| register-with-eureka: false | |
| service-url: | |
| defaultZone: http://eureka7001.com:7001/eureka/ | |
| server: | |
| port: 80 |
value表示调用哪个微服务
| @Component | |
| @FeignClient(value = "MICROSERVICECLOUD-DEPT") | |
| public interface DeptClientService | |
| { | |
| @RequestMapping(value = "/dept/get/{id}", method = RequestMethod.GET) | |
| public Dept get(@PathVariable("id") long id); | |
| @RequestMapping(value = "/dept/list", method = RequestMethod.GET) | |
| public List<Dept> list(); | |
| @RequestMapping(value = "/dept/add", method = RequestMethod.POST) | |
| public boolean add(Dept dept); |
修改客户端工程
| public class DeptController_Consumer | |
| { | |
| private DeptClientService service; | |
| public Dept get( Long id) | |
| { | |
| return this.service.get(id); | |
| } | |
| } |
在客户端启动类上添加
| @EnableEurekaClient | |
| @EnableFeignClients(basePackages= {"com.imooc.springcloud"}) |
Hystrix(断路器,当服务拥堵或者异常时候返回一个合理的值)
整合feign
在客户端添加
| <dependency> | |
| <groupId>org.springframework.boot</groupId> | |
| <artifactId>spring-boot-starter-web</artifactId> | |
| </dependency> | |
| <dependency> | |
| <groupId>org.springframework.cloud</groupId> | |
| <artifactId>spring-cloud-starter-netflix-eureka-client</artifactId> | |
| </dependency> | |
| <dependency> | |
| <groupId>org.springframework.cloud</groupId> | |
| <artifactId>spring-cloud-starter-netflix-hystrix</artifactId> | |
| </dependency> | |
| <dependency> | |
| <groupId>org.springframework.cloud</groupId> | |
| <artifactId>spring-cloud-starter-openfeign</artifactId> | |
| </dependency> |
在api项目中创建一个实现FallbackFactory接口的实现类,实现Fallback
| //不要忘记添加//不要忘记添加//不要忘记添加//不要忘记添加//不要忘记添加 | |
| public class DeptClientServiceFallbackFactory implements FallbackFactory<DeptClientService> { | |
| public DeptClientService create(Throwable throwable) { | |
| return new DeptClientService() { | |
| public Dept get(long id) { | |
| return new Dept().setDeptno(id).setDname("该ID:" + id + "没有没有对应的信息,Consumer客户端提供的降级信息,此刻服务Provider已经关闭") | |
| .setDb_source("no this database in MySQL"); | |
| } | |
| public List<Dept> list() { | |
| return null; | |
| } | |
| public boolean add(Dept dept) { | |
| return false; | |
| } | |
| }; | |
| } | |
| } |
在service接口上添加
@FeignClient(value = "MICROSERVICECLOUD-DEPT",fallbackFactory=DeptClientServiceFallbackFactory.class)
在客户端添加
| feign: | |
| hystrix: | |
| enabled: true |
在提供端添加
| @EnableCircuitBreaker | |
| @EnableFeignClients(basePackages= {"com.example"}) |
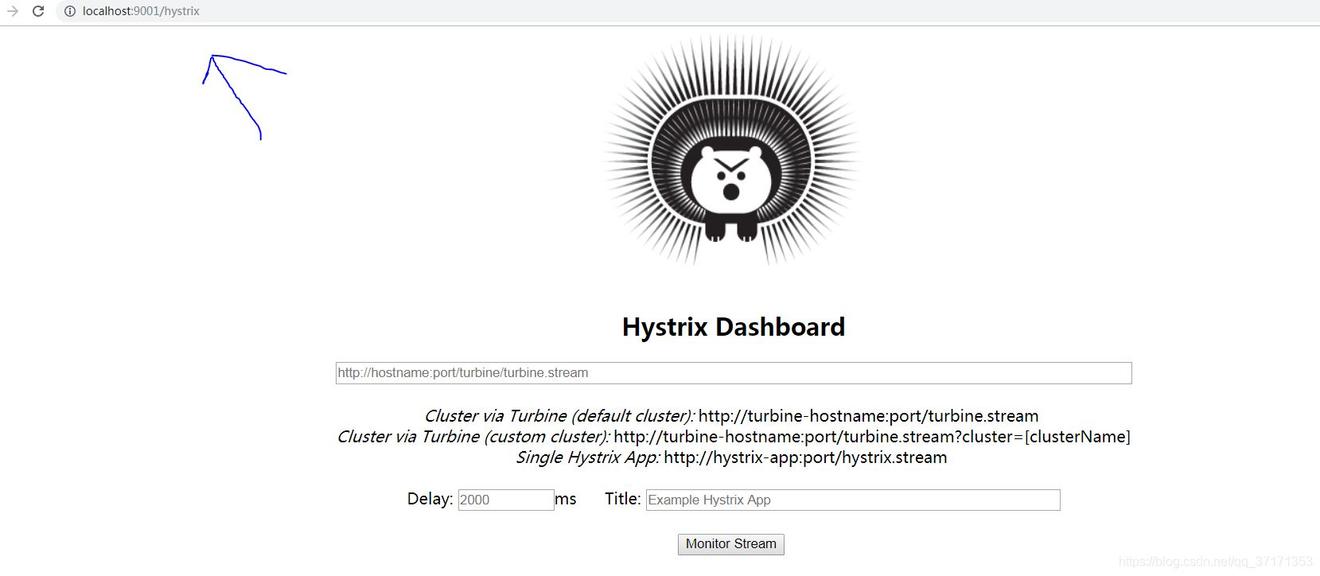
hystrixdashboard (×××错误)
| <!-- hystrix和 hystrix-dashboard相关 --> | |
| <dependency> | |
| <groupId>org.springframework.cloud</groupId> | |
| <artifactId>spring-cloud-starter-hystrix</artifactId> | |
| </dependency> | |
| <dependency> | |
| <groupId>org.springframework.cloud</groupId> | |
| <artifactId>spring-cloud-starter-hystrix-dashboard</artifactId> | |
| </dependency> | |
| server: | |
| port: 9001 | |
| // //Howard 2019-02-21 add for HystrixDashboard | |
| public ServletRegistrationBean getServlet(){ | |
| HystrixMetricsStreamServlet streamServlet = new HystrixMetricsStreamServlet(); | |
| ServletRegistrationBean registrationBean = new ServletRegistrationBean(streamServlet); | |
| registrationBean.setLoadOnStartup(1); | |
| registrationBean.addUrlMappings("/hystrix.stream"); | |
| registrationBean.setName("HystrixMetricsStreamServlet"); | |
| return registrationBean; | |
| } |
要监控的服务添加
| <!-- actuator监控信息完善 --> | |
| <dependency> | |
| <groupId>org.springframework.boot</groupId> | |
| <artifactId>spring-boot-starter-actuator</artifactId> | |
| </dependency> |
http://localhost:9001/hystrix
Zuul(路由网关,可以理解为在服务前加了一个门卫)
功能:代理+路由+过滤
| <dependency> | |
| <groupId>org.springframework.boot</groupId> | |
| <artifactId>spring-boot-starter-web</artifactId> | |
| </dependency> | |
| <dependency> | |
| <groupId>org.springframework.cloud</groupId> | |
| <artifactId>spring-cloud-starter-netflix-eureka-client</artifactId> | |
| </dependency> | |
| <dependency> | |
| <groupId>org.springframework.cloud</groupId> | |
| <artifactId>spring-cloud-starter-netflix-zuul</artifactId> | |
| </dependency> | |
| @EnableZuulProxy |
其中:
zuul.igored-services 表示不允许用服务名称访问
prefix:前缀
zuul.rotes.xxx.serivceId和zuul.rotes.xxx.path是一对
所有的请求都走zuul,即(ip:端口/前缀/(zuul.rotes.xxx.path)/controller中的请求地址)
http://localhost:9527/atguigu/mydept/get/1
| server: | |
| port: 9527 | |
| spring: | |
| application: | |
| name: zuul-9587 | |
| eureka: | |
| client: | |
| service-url: | |
| defaultZone: http://eureka7001.com:7001/eureka,http://eureka7002.com:7002/eureka,http://eureka7003.com:7003/eureka | |
| instance: | |
| instance-id: gateway-9527.com | |
| prefer-ip-address: true | |
| zuul: | |
| #ignored-services: microservicecloud-dept | |
| prefix: /atguigu | |
| ignored-services: "*" | |
| routes: | |
| mydept.serviceId: microservicecloud-dept | |
| mydept.path: /mydept/** | |
| info: | |
| app.name: atguigu-microcloud | |
| company.name: www.atguigu.com |
Config
小案例:
用一个eurekaserver从github上读数据(eureka的配置文件),然后eurek-client端(也就是eureka)从configServer端读取配置文件并且加载
前提:
你必须可以用写程序的电脑对github仓库进行读写,否则出现认证错误
ConfigServer
在github有一个名称为microservicecloud-config的仓库,里面有一个文件config-eureka.yml,区别在于端口
| spring: | |
| profiles: | |
| active: -dev | |
| server: | |
| port: 7001 | |
| spring: | |
| profiles: dev | |
| application: | |
| name: microservicecloud-config-eureka-client | |
| eureka: | |
| instance: | |
| hostname: localhost #eureka服务端的实例名称 | |
| client: | |
| register-with-eureka: false #false表示不向注册中心注册自己。 | |
| fetch-registry: false #false表示自己端就是注册中心,我的职责就是维护服务实例,并不需要去检索服务 | |
| service-url: | |
| defaultZone: http://${eureka.instance.hostname}:${server.port}/eureka/ | |
| server: | |
| port: 8001 | |
| spring: | |
| profiles: test | |
| application: | |
| name: microservicecloud-config-eureka-client | |
| eureka: | |
| instance: | |
| hostname: localhost #eureka服务端的实例名称 | |
| client: | |
| register-with-eureka: false #false表示不向注册中心注册自己。 | |
| fetch-registry: false #false表示自己端就是注册中心,我的职责就是维护服务实例,并不需要去检索服务 | |
| service-url: | |
| defaultZone: http://${eureka.instance.hostname}:${server.port}/eureka/ |
pom
| <dependency> | |
| <groupId>org.springframework.boot</groupId> | |
| <artifactId>spring-boot-starter-web</artifactId> | |
| </dependency> | |
| <dependency> | |
| <groupId>org.springframework.cloud</groupId> | |
| <artifactId>spring-cloud-config-server</artifactId> | |
| </dependency> |
yml
| server: | |
| port: 3344 | |
| spring: | |
| application: | |
| name: config-server-3344 | |
| cloud: | |
| config: | |
| server: | |
| git: | |
| uri: git@github.com:cbeann/microservicecloud-config.git #GitHub上面的git仓库名字 | |
| username: bean | |
| password: 17863961702 | |
| @EnableConfigServer |
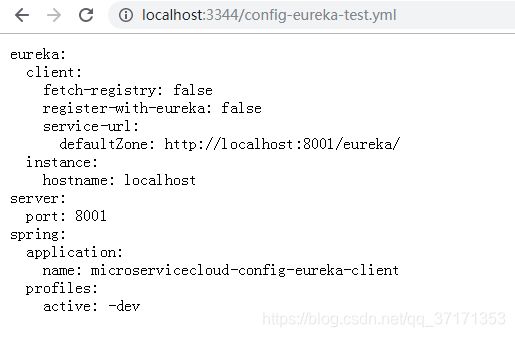
config-eureka为github仓库中文件名称 -dev -test为后缀
http://localhost:3344/config-eureka-test.yml
http://localhost:3344/config-eureka-dev.yml
ConfigClient
| <dependency> | |
| <groupId>org.springframework.cloud</groupId> | |
| <artifactId>spring-cloud-starter-config</artifactId> | |
| </dependency> | |
| <dependency> | |
| <groupId>org.springframework.cloud</groupId> | |
| <artifactId>spring-cloud-starter-netflix-eureka-server</artifactId> | |
| </dependency> |
bootstrap.yml
| spring: | |
| cloud: | |
| config: | |
| name: config-eureka #需要从github上读取的资源名称,注意没有yml后缀名 | |
| profile: dev #本次访问的配置项 | |
| label: master | |
| uri: http://localhost:3344 #本微服务启动后先去找3344号服务,通过SpringCloudConfig获取GitHub的服务地址 |
application.yml
| spring: | |
| application: | |
| name: config-eureka |
Spring Cloud Sleuth(服务链路追踪)
功能:查看服务直接的调用关系
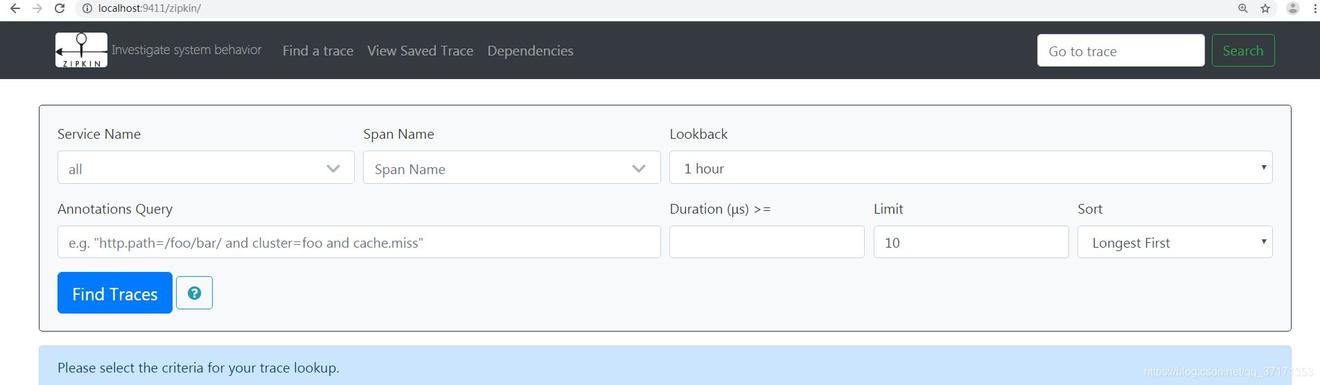
1)启动Zipkin Server
下载Zipkin Server
https://dl.bintray.com/openzipkin/maven/io/zipkin/java/zipkin-server/
java -jar zipkin-server-2.11.6-exec.jar
链接:https://pan.baidu.com/s/11vyNQ9k551foEjeRaBY2Zg 提取码:k9ba
localhost:9411
2) 新建项目A
| <dependency> | |
| <groupId>org.springframework.boot</groupId> | |
| <artifactId>spring-boot-starter-web</artifactId> | |
| </dependency> | |
| <dependency> | |
| <groupId>org.springframework.cloud</groupId> | |
| <artifactId>spring-cloud-starter-zipkin</artifactId> | |
| </dependency> | |
| spring: | |
| zipkin: | |
| base-url: http://localhost:9411 | |
| application: | |
| name: zipkin-service-a | |
| server: | |
| port: 8988 |
3)新建项目B
依赖和A一样
yml中端口和名称需要修改
B中有一个restTemplate可以调用A中的方法
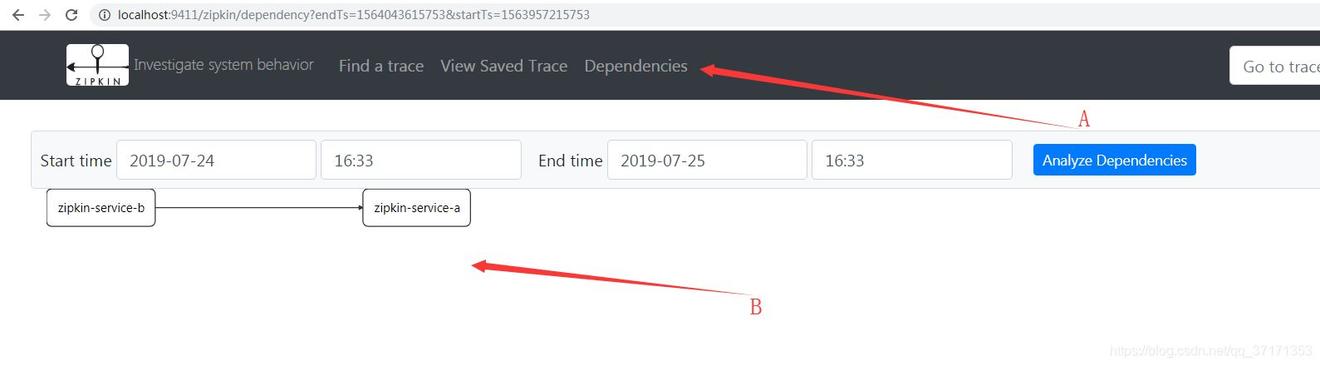
4)结果
先请求一下B项目,使其调用A
然后点击下图中的A就可以出现下图的B
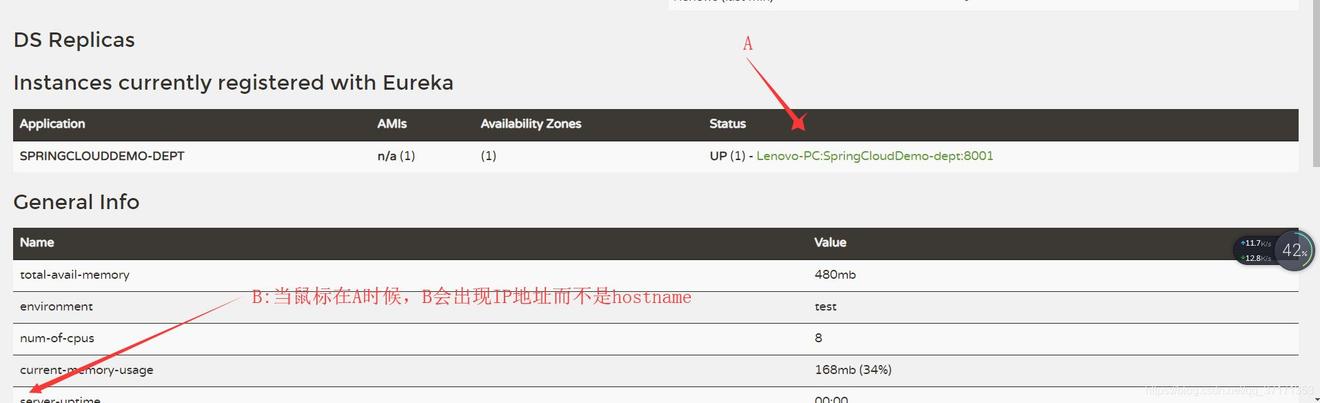
小细节(for eureka client)
| eureka: | |
| client: | |
| service-url: | |
| defaultZone: http://localhost:7001/eureka | |
| instance: | |
| instance-id: SpringCloudDemo-provider-dept-8001 #.小细节:Status别名 | |
| prefer-ip-address: true #.小细节:访问路径可以显示IP地址 |
| <!-- actuator监控信息完善 --> | |
| <dependency> | |
| <groupId>org.springframework.boot</groupId> | |
| <artifactId>spring-boot-starter-actuator</artifactId> | |
| </dependency> |
点击上图A后进入的界面信息
| info: | |
| app.name: ABC-SpringCloudDemo | |
| company.name: CDEF |
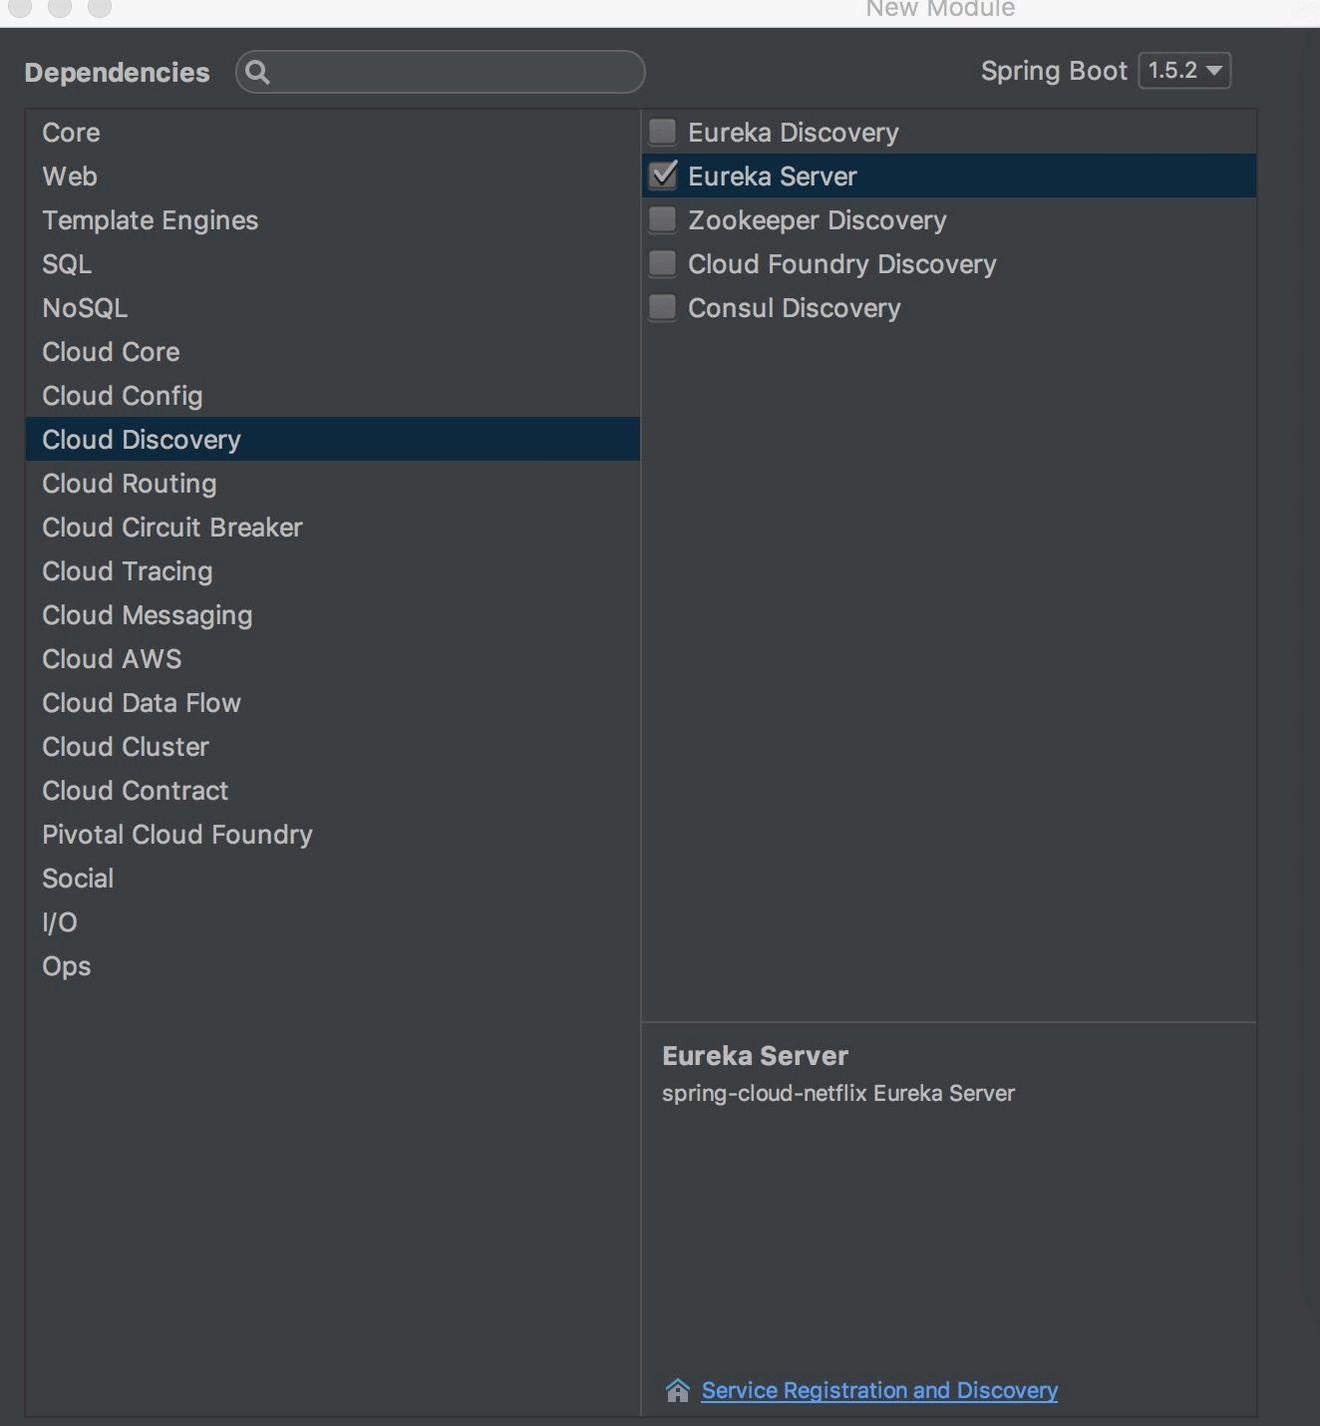
学习感悟
1)学习SpringCloud你要用对工具,正常的方式是通过 打对勾的方式添加组件
2)添加的依赖可能不同,但是效果可能一样,这一点我没有弄清楚,比如下面两个依赖
| <dependency> | |
| <groupId>org.springframework.cloud</groupId> | |
| <artifactId>spring-cloud-starter-netflix-eureka-server</artifactId> | |
| </dependency> | |
| <!--eureka-server服务端 --> | |
| <dependency> | |
| <groupId>org.springframework.cloud</groupId> | |
| <artifactId>spring-cloud-starter-eureka-server</artifactId> | |
| </dependency> |
3)动手实践,加上自己的想法