前言: 好久没有更新咯,咱就是说 2024 在学习道路上继续前进!开年的第一篇文章献给 vue3,咱也紧跟着尤大大的脚步,在加班的日子里捣鼓了一番 vue3+vite+typeScript,在查阅了众多资料和实践后,终于搭建好了一个完整的项目,好记性不如烂笔头,来记录一下搭建过程。
一.技术栈
- 编程语言:
typeScript v5.3.3 - 构建工具:
vite v5.1.4 - 前端框架:
vue v3.4.19
二.兼容性
node 版本>=12.0.0,这边建议直接更新到 16+(我本地的是最新的 v20.11.1)
三.搭建步骤
1.第一种方法:使用 NPM 构建
| cd 进入你要创建项目的目录位置(即你项目要存储的位置,我这儿是:F:\newCodePlace) | |
| $ npm init vite@latest | |
| 然后按照提示操作即可 |
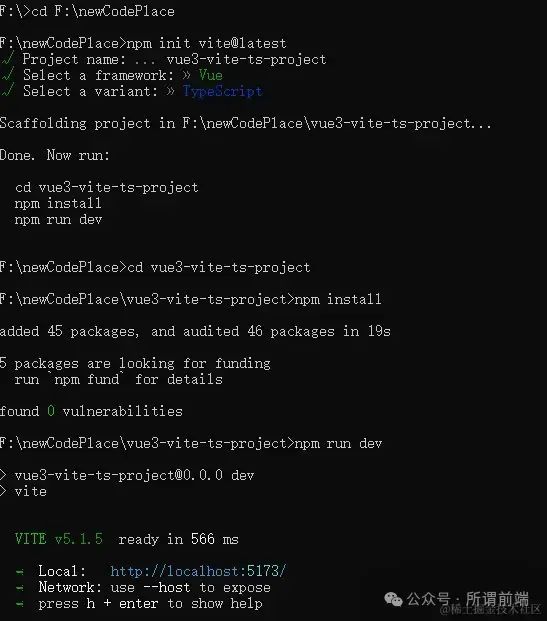
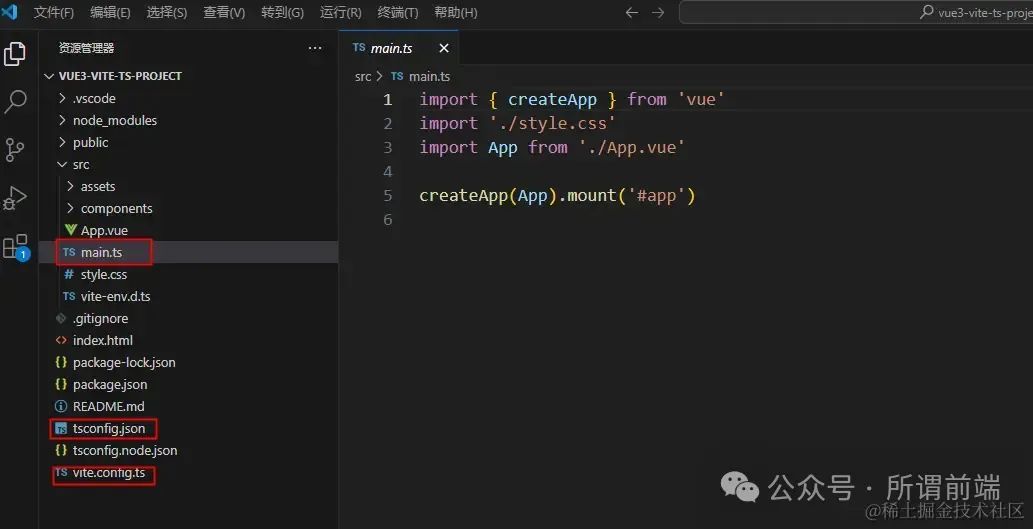
注意:此命令直接创建 vue3+vite+ts 的项目,无需额外手动引入 vite 和 typeScript 项目结构如下:
注意: 如果用第一种方法创建的项目,直接跳到 步骤42.第二种方法:可以通过附加的命令行选项直接指定项目名称 和 你想要使用的模板
| npm 6.x以上版本: | |
| $ npm init vite@latest vue3-vite-ts-project --template vue | |
| npm 7.x版本(需要额外的双横线): | |
| $ npm init vite@latest my-vue-app -- --template vue |
注意:此命令创建的项目并无 vite 和 ts 模块,需要额外配置。
注意: 如果用第二种方法创建的项目,继续按照顺序 步骤3 往下操作3.按照操作往下走:
| cd my-project(你的项目名,如上图我的就是要输入 cd vue3-vite-ts-project) | |
| npm install | |
| npm run dev |
4.安装 Vue-Router 4.x 版本:
$ npm install vue-router@4
注意:vue3 最好安装最新版的vue-router,版本错误的话无法使用路由进行跳转5.新建 router/index.ts 文件
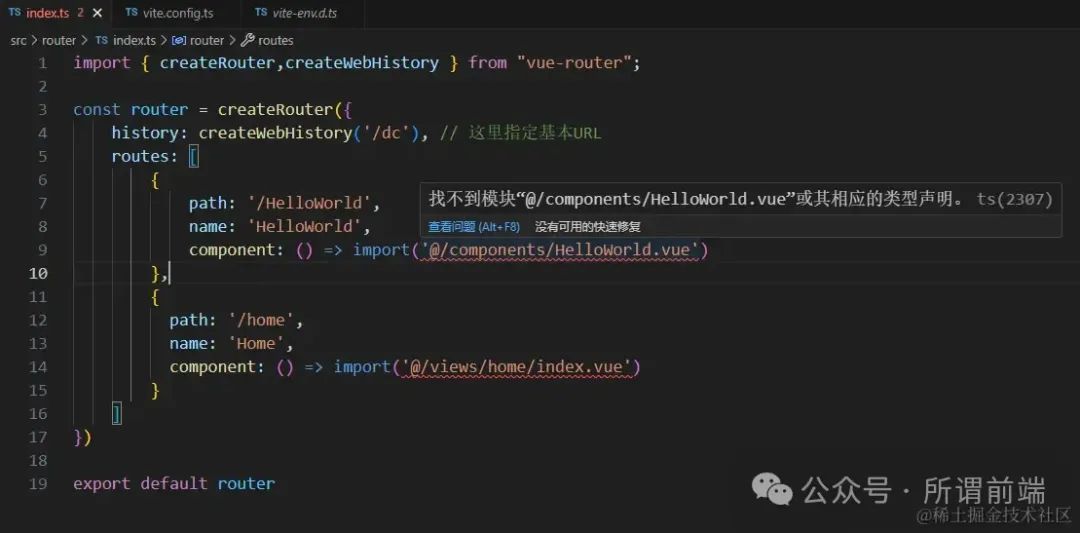
在项目 src 目录下创建src/router/index.ts文件,并写入路由配置
| import { createRouter,createWebHistory } from "vue-router"; | |
| const router = createRouter({ | |
| history: createWebHistory('/dc'), // 这里指定基本URL | |
| routes: [ | |
| { | |
| path: '/HelloWorld', | |
| name: 'HelloWorld', | |
| component: () => import('@/components/HelloWorld.vue') | |
| }, | |
| { | |
| path: '/home', | |
| name: 'Home', | |
| component: () => import('@/views/home/index.vue') | |
| } | |
| ] | |
| }) | |
| export default router |
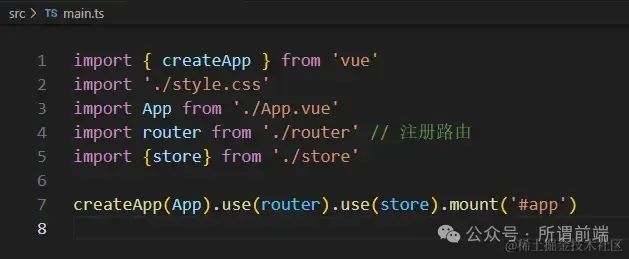
main.ts 中引入路由文件 router/index.ts
| import { createApp } from 'vue' | |
| import './style.css' | |
| import App from './App.vue' | |
| import router from './router' // 注册路由 | |
| createApp(App).use(router).mount('#app') |
6.配置文件路径
如果要使用上面 index.ts 路由文件里面那个路由的@/components/HelloWorld.vue 写法,要在vite.config.ts文件配置如下,才能使用@写法
| import { resolve } from "path" | |
| resolve: { | |
| alias: { | |
| '@': resolve(__dirname, 'src') // 兼容src目录下的文件夹可通过 @/components/HelloWorld.vue写法 | |
| } | |
| }, |
此时可能会出现以下找不到模块的错误:

解决办法: $ npm install --save-dev @types/node
配置好根路径后,router/index.ts 路由文件依旧报错,引入文件可能会报红:vue3+ts报错:找不到模块“@/xxx”或其相应的类型声明。,或者是引入.vue 文件的时候报红:vue3+ts报错:找不到模块“./components/helloworld.vue”或其相应的类型声明。
解决办法: 在vite-env.d.ts文件中增加以下代码:| declare module '*.vue' { | |
| import { Component } from 'vue' | |
| const component: Component | |
| export default component | |
| } |
关掉 router/index.ts 文件后重新打开,就没有报红了

此时可以在 src 目录下新建一个views/home/index.vue文件,复制以下代码,测试一下路由跳转。| <script setup lang="ts"> | |
| import { ref } from 'vue' | |
| defineProps({ | |
| msg: String, | |
| }) | |
| const count = ref(0) | |
| </script> | |
| <template> | |
| <div class="home-page">home page</div> | |
| </template> | |
| <style scoped> | |
| .home-page{ | |
| color:$color-195CC2; | |
| } | |
| </style> |
App.vue 中:

路由配置成功,页面跳转成功。
7.安装 Vuex 4.x 版本:
npm install vuex@next --save
新建store/index.ts文件目录,写入以下代码:
| import {createStore} from "vuex"; | |
| export const store = createStore({ | |
| state: { | |
| finish: '状态管理器vuex-存储', | |
| }, | |
| getters: {}, | |
| mutations: {}, | |
| actions: {}, | |
| modules: {} | |
| }); |
此时会出现如下报错提示:
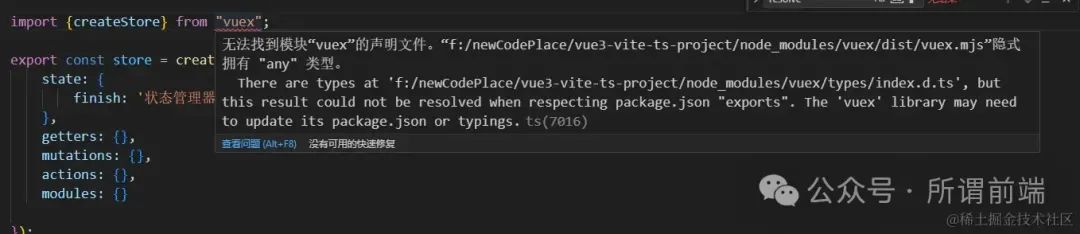
解决办法: 在vite-env.d.ts文件中添加如下配置:| declare module "vuex" { | |
| export * from "vuex/types/index.d.ts"; | |
| export * from "vuex/types/helpers.d.ts"; | |
| export * from "vuex/types/logger.d.ts"; | |
| export * from "vuex/types/vue.d.ts"; | |
| } |
main.ts 中注册引入:
8.引入 scss
| $ npm install -D sass | |
| $ npm install -D dart-sass | |
| $ npm install sass-loader --save-dev | |
| $// npm install style-loader --save-dev |
注意:node-sass 已经停止更新,这边改成 dart-sass
src 目录下新增src/style.base.scss文件
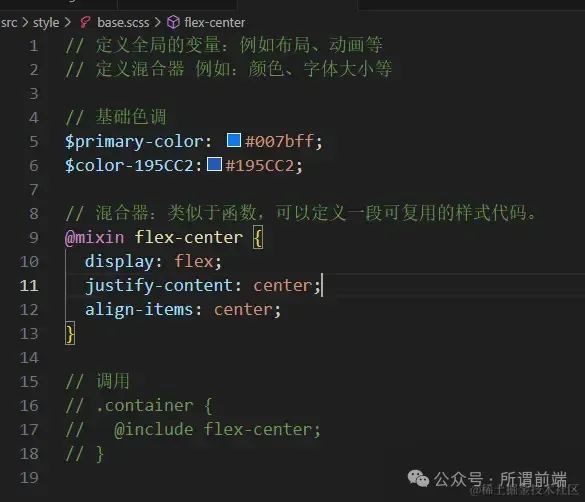
vite.config.ts配置文件中可 全局引入 scss
| css:{ | |
| preprocessorOptions: { | |
| scss: { | |
| additionalData: ['@import "./src/style/base.scss";'], // 全局公共样式 | |
| charset:false | |
| } | |
| } | |
| } |
使用方法:在.vue 文件增加<style scoped lang="scss">即可
注意:app.vue中的style不可以加scoped,style中必须写东西,写个注释都可以
9.引入 element-plus 组件库
$ npm install element-plus
main.ts 中引入(如下):
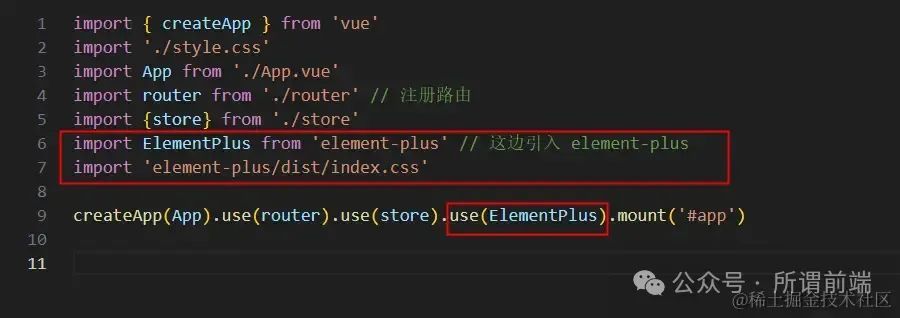
最后就可以在页面使用 element 组件啦~至此一个完整的 vue3+vite+ts 项目就搭建完成了,还有待完善,包括 vite 配置还有很多优化的地方,易用性组件等,等下期一起整理哦。